
需要用到mkcert,安装方式请参考:centos安装mkcert - lightsmile’s Blog
1.部署流程
1.1 将CA证书加入本地可信CA(可选)
(base) ➜  ~ mkcert -install
Created a new local CA 💥
The local CA is now installed in the system trust store! ⚡️
The local CA is now installed in the Firefox and/or Chrome/Chromium trust store (requires browser restart)! 🦊
The local CA is already installed in Java's trust store! 👍
这一条其实可选,当执行了这一步流程之后,mkcert使用的根证书就加入了本地可信CA中,以后由该CA签发的证书在本地都是可信的。
1.2 生成自签名证书
(base) ➜  ~ mkcert localhost 127.0.0.1 ::1 49.232.27.108

Created a new certificate valid for the following names 📜
 - "localhost"
 - "127.0.0.1"
 - "::1"
 - "49.232.27.108"

The certificate is at "./localhost+3.pem" and the key at "./localhost+3-key.pem" ✅

It will expire on 19 February 2023 🗓
以上命令会在当前路径生成证书文件和私钥文件,为便于后面使用,可以将该文件放到别的路径,以个人为例,我放到了/root/Data/Web/ssl/下。
1.3 nginx配置证书文件和私钥文件
nginx中配置文件内容(默认路径为/etc/nginx/nginx.conf)大致如下:
user  root;
worker_processes  2;

error_log  /var/log/nginx/error.log warn;
pid        /var/run/nginx.pid;


events {
    worker_connections  1024;
}


http {
    include       /etc/nginx/mime.types;
    default_type  application/octet-stream;

    log_format  main  '$remote_addr - $remote_user [$time_local] "$request" '
                      '$status $body_bytes_sent "$http_referer" '
                      '"$http_user_agent" "$http_x_forwarded_for"';

    access_log  /var/log/nginx/access.log  main;

    sendfile        on;
    #tcp_nopush     on;

    keepalive_timeout  65;

    #gzip  on;

    include /etc/nginx/conf.d/*.conf;

    server {
        listen 8089 ssl;
        # listen 8089;
        server_name localhost;
        root /root/Data/Web/;
        charset utf-8;
        index index.html;

        ssl_certificate /root/Data/Web/ssl/localhost+3.pem;
        ssl_certificate_key /root/Data/Web/ssl/localhost+3-key.pem;

        ssl_session_timeout 5m;
        ssl_protocols TLSv1 TLSv1.1 TLSv1.2;
        ssl_ciphers  HIGH:!aNULL:!MD5;  # 密码加密方式
        ssl_prefer_server_ciphers on;
        ssl_session_cache shared:SSL:1m;

        location / {
            root /root/Data/Web/html;
            index index.html;
        }
    }
}
其中/root/Data/Web/ssl/html/index.html内容如下:
<!DOCTYPE html>
<html lang="en">
<head>
    <meta charset="UTF-8">
    <meta name="viewport" content="width=device-width, initial-scale=1.0">
    <title>Document</title>
</head>
<body>
    <p>Hello world!</p>
</body>
</html>
1.4 将CA证书发放给其他用户
使用以下命令查看CA证书路径并生成crt格式:
(base) ➜  ~ mkcert -CAROOT
/root/.local/share/mkcert
(base) ➜  ~ cd .local/share/mkcert
(base) ➜  mkcert ls
rootCA-key.pem  rootCA.pem
(base) ➜  mkcert cp rootCA.pem rootCA.crt
(base) ➜  mkcert ls
rootCA.crt  rootCA-key.pem  rootCA.pem
然后将rootCA.crt文件通过文件传输方式分发给局域网其他电脑。
1.5 导入CA证书
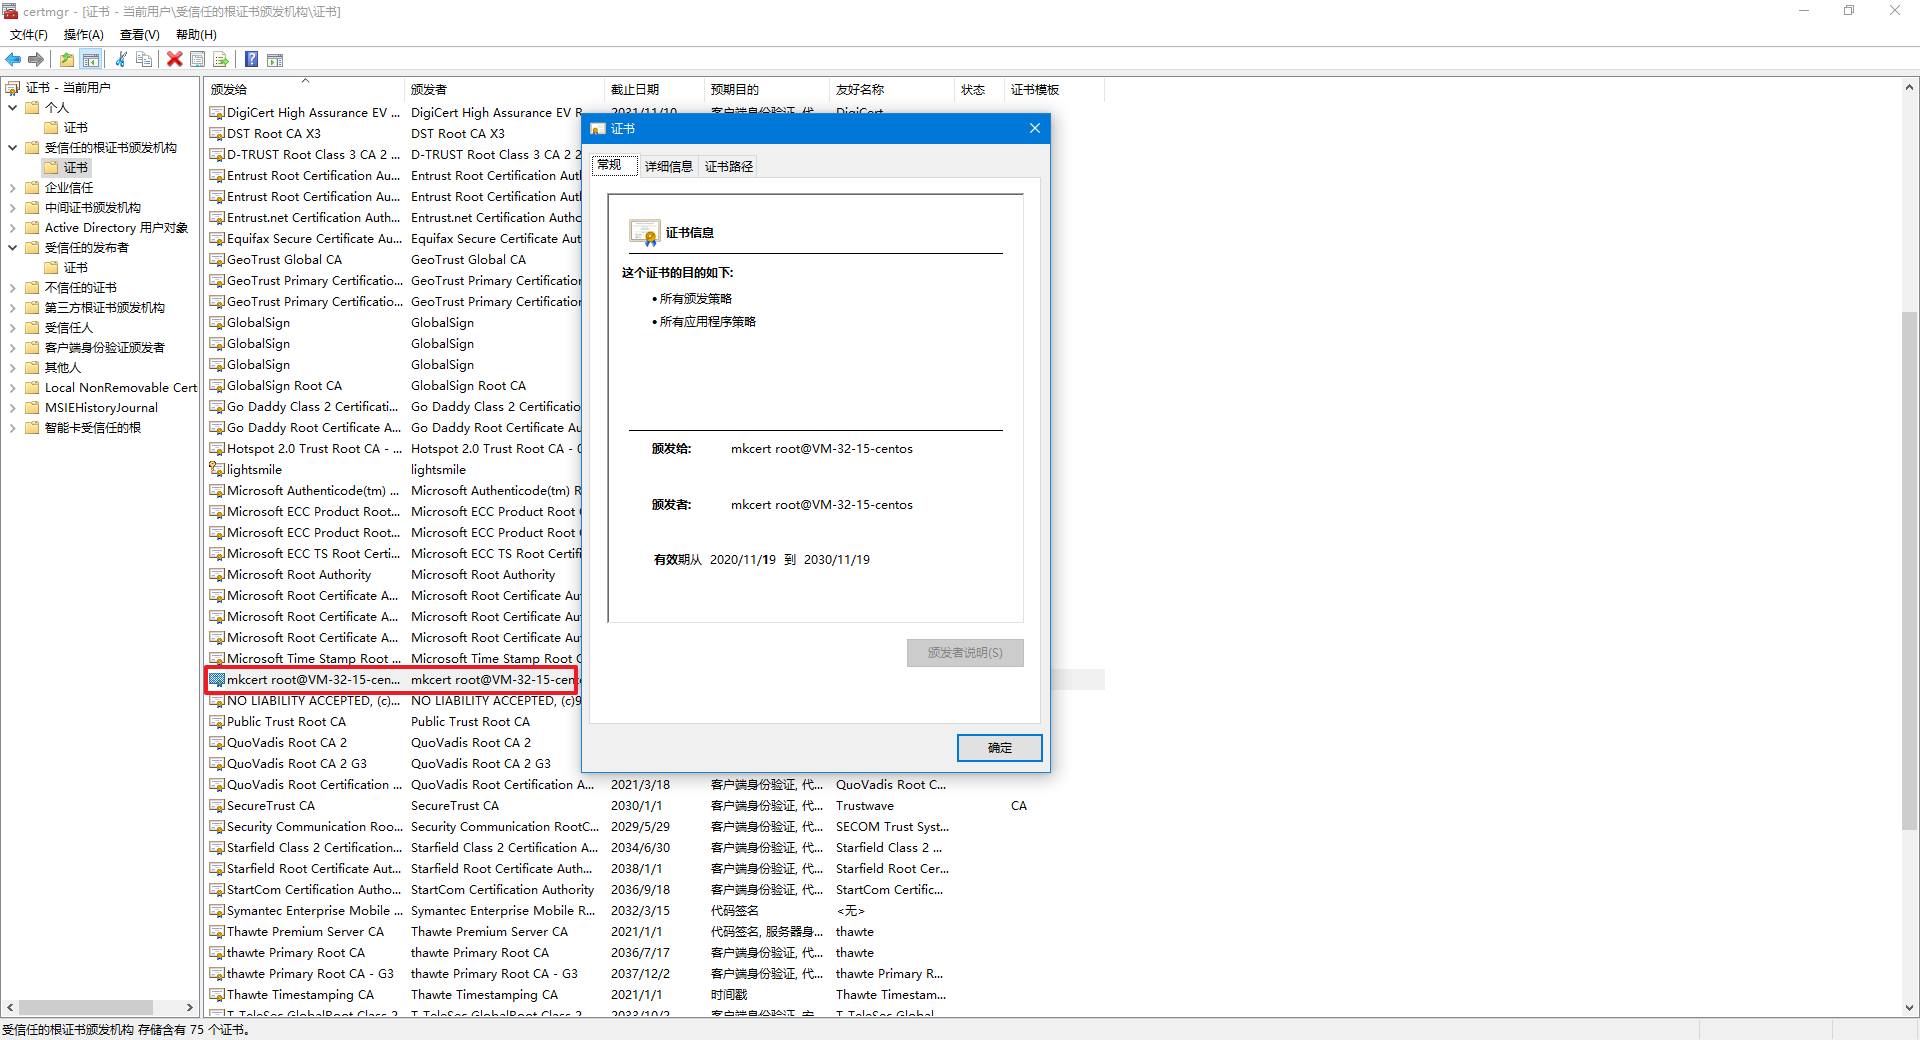
Windows和MacOS的导入方式为双击这个文件,在证书导入向导中选择将证书导入受信任的根证书颁发机构,导入成功后我们可以在开始运行中输入certmgr.msc查看证书,如图:
1.6 使用https访问服务
导入该CA证书的局域网其他用户便也可以通过https方法来访问该服务器了,然而需要注意的是浏览器需要先退出然后重新打开,以便于浏览器重新加载信任证书,否则的话还是会提示不安全。
重新打开后,访问服务可以看到结果如下:

2.参考