
0.前言
Jupyter大法好!
1.修改Jupyter notebook配置方法
jupyter notebook --generate-config
使用以上命令得到notebook的配置文件,路径为:~/.jupyter/jupyter_notebook_config.py,然后我们可以在其中修改是否允许以root用户启动,以及启动目录等。
2.添加Scala kernel
需要借助almond工具,首先需要先安装almond,如下:
curl -Lo coursier https://git.io/coursier-cli
chmod +x coursier
然后执行如下命令安装:
./coursier launch --fork almond -- --install
或者是指定almond或scala版本:
./coursier launch --fork almond:0.10.0 --scala 2.13 -- --install
注释:使用
scala -version命令查看scala版本。
以上的安装需要耗费一些时间,如果安装过程最后的输出信息为Installed scala kernel under /root/.local/share/jupyter/kernels/scala,则说明安装成功。
3.添加Spark kernel
这里的kernel更准确的来说应该是pyspark kernel。
安装命令如下:
pip install spylon-kernel
python -m spylon_kernel install
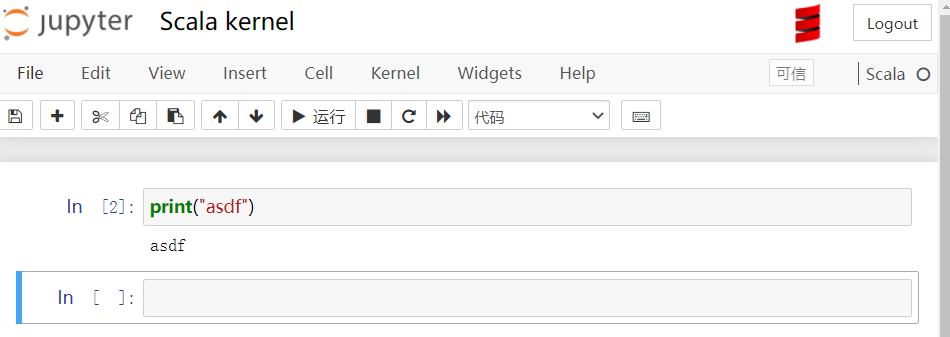
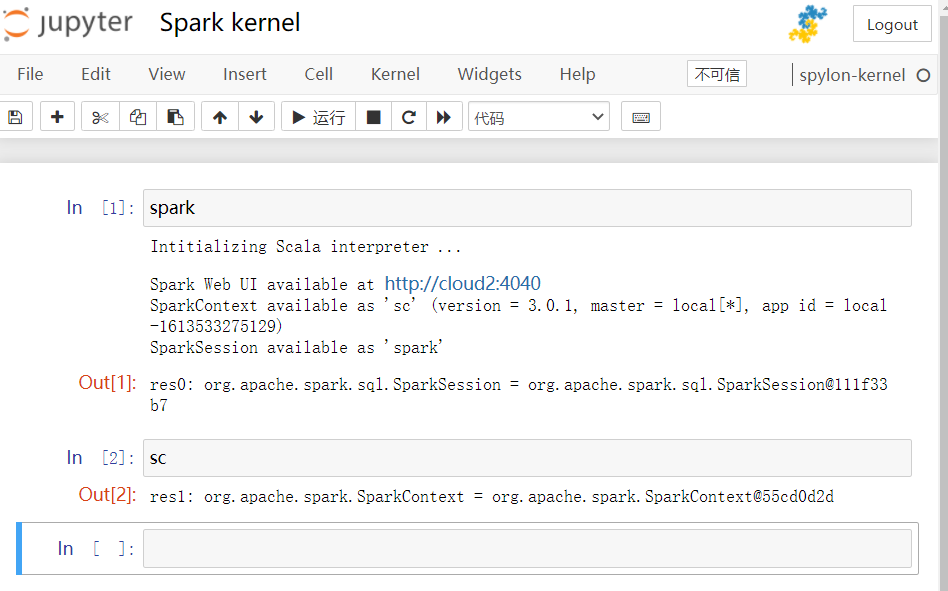
4.jupyter notebook内核创建成功示例
如下图,为scala kernel:
如下图,为spark kernel:
如下图,为jupyter notebook的所有kernels:

5.Jupyter notebook内核管理
5.1 列出内核
jupyter kernelspec list
Available kernels:
  scala            /root/.local/share/jupyter/kernels/scala
  python3          /opt/miniconda3/share/jupyter/kernels/python3
  spylon-kernel    /usr/local/share/jupyter/kernels/spylon-kernel
5.2 移除内核
jupyter kernelspec remove <kernel-name>
5.3 修改kernel名称
首先使用jupyter kernelspec list找到kernel所在的位置,然后在该文件夹下编辑kernel.json文件,修改display_name属性即可。
6.参考
- 总结:修改Anaconda中的Jupyter Notebook默认工作路径的三种方式_u014552678的博客-CSDN博客
- Installation · almond
- Jupyter Notebook Kernels: How to Add, Change, Remove
- jupyter安装及配置scala、spark、pyspark内核_moledyzhang的博客-CSDN博客
- Valassis-Digital-Media/spylon-kernel: Jupyter kernel for scala and spark
- Jupyter notebook安装Scala_rosefun96的博客-CSDN博客